How To Use SSH on Windows
In this article I’m going to show you can use SSH on Windows machines. We’ll go over the installation of OpenSS, basic SSH configuration, as well as connecting to and from a Windows and Linux machine.
The Secure Shell (SSH) Protocol is a network protocol that allows secure access to interact with remote network resources over port 22. SSH is commonly used for remote login and command-line execution for administrative purposes. Microsoft Windows uses an implementation of OpenSSH to implement the SSH protocol and actively maintains this software project on GitHub under the openssh-portable repository.
Did you know that you can even use SSH to mount a filesystem with SSHFS, create a transparent proxy with SSHuttle, and copy files back and forth between systems using SCP? There are many amazing uses that includes the SSH protocol! If you’re curious about more implementations of the SSH protocol you can learn more here.
Installation
In order to use OpenSSH we need to first install the Microsoft.OpenSSH.Beta package using Microsoft Package Manager (winget). For those unfamiliar with the Windows Package Manager, I wrote a blog post on winget.
Searching For the OpenSSH Package
In order to find the OpenSSH package to install we are going to use the Windows Package Manager through a PowerShell terminal to search for available packages.
winget search openssh

winget search openssh
Once we have the name of the package, Microsoft.OpenSSH.Beta we can verify this package by showing package details using winget.
Is OpenSSH Already Installed?
We can check if OpenSSH is installed or not using the winget list command.
winget list Microsoft.OpenSSH.Beta

winget list Microsoft.OpenSSH.Beta
If OpenSSH is already installed we can skip the installation process.
OpenSSH Package Metadata
When searching for applications and packages using Microsoft winget it’s a good idea to show the package metadata before installing, especially if this package is not something you’re familiar with.
winget show Microsoft.OpenSSH.Beta

winget show Microsoft.OpenSSH.Beta
Using the show command allows us to see critical information regarding this package including: publisher, source, release notes, and security fixes. Keeping up with package security is essential!
Installing the OpenSSH Package
Once we’ve found and verified the OpenSSH package we can move on to installing the package using winget. During the installation we can verify the Installer Url is indeed the URL we saw from the previous show command. The Windows Package Manager will also verify the hash for us!

winget install Microsoft.OpenSSH.Beta
Enabling the ssh-agent Service
Once installed we can ensure that the ssh-agent service is enabled and started on our Windows machine using a powershell terminal. It’s important to note that this must be done through an Administrator terminal.
Elevate Terminal
I suggest using gsudo to elevate the current terminal. The tool gsudo is the Windows equivalent of the Linux sudo command. If you don’t have gsudo already installed you can use this guide to setup gsudo.
If gsudo is already installed we can elevate the current terminal window with the following command.
gsudo
Enable ssh-agent Service
Once the current terminal is elevated with Administrator privileges we can run use the Set-Service command to enable the ssh-agent service to be a persistent service which starts up automatically.
Set-Service ssh-agent -StartupType Automatic
Start ssh-agent Service
Once we have our ssh-agent enabled as a persistent service we can start this service directly with the Start-Service command.
Start-Service ssh-agent
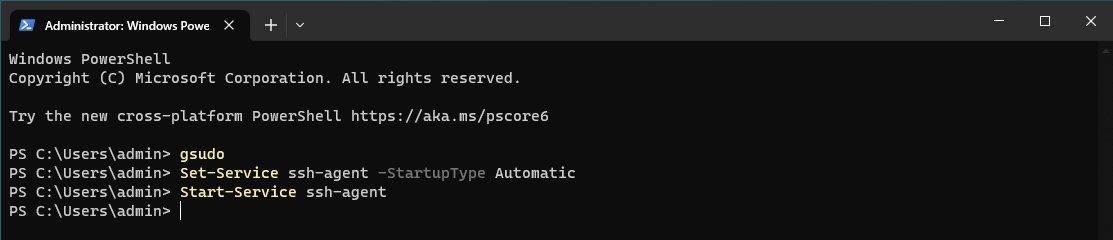
Sequence of commands to enable & start ssh-agent service
Generate SSH Keys
After we have enabled and started the ssh-agent service we can move onto generating an ssh keypair. This can be accomplished using the ssh-keygen command. In our terminal run the following command.
ssh-keygen
This command will generate a new ssh key-pair for us and will ask us to provide the file to save the key as. Additionally, we will be asked to provide a key password, we can hit enter twice to use a passwordless key.

Generating a new ssh key-pair using the ssh-keygen command
Adding the SSH Key to the Authentication Agent
Once our ssh key-pair has been generated we can move onto adding our private key to the ssh agent using the ssh-add command. This important step adds our key to the authentication agent which we need in order to authenticate with our key-pair.
ssh-add 'C:\Users\admin\.ssh\win_id_rsa'

Connecting to Windows From Linux
After we’ve successfully added our ssh key to the authentication agent with ssh-add we are ready to test ssh authentication using our .pub public key.
In this example I’m going to connect to my Windows machine from my Linux machine. First we need to ensure that the public key we just generated is on the machine we want connect from. Since I’m using virtual machines I’ll simply move my key over using a shared folder from my host.

The Windows public ssh key located on my Linux machine
We also need to know the IP address of our Windows machine, we can find this information out easily with PowerShell with the Get-NetIPAddress command.
Get-NetIPAddress -AddressFamily IPv4 | Format-Table

Get-NetIPAddress command output
Once we have our public key on our Linux machine and the IP address of our Windows machine we are ready ssh to our Windows machine.
To confirm we are on a Linux machine we can use the uname -a command.

Running the uname -a command
To ssh to our Windows machine we can run the following command providing our username, IP address, as well as public key.
ssh admin@172.16.186.151 -i win_id_rsa.pub
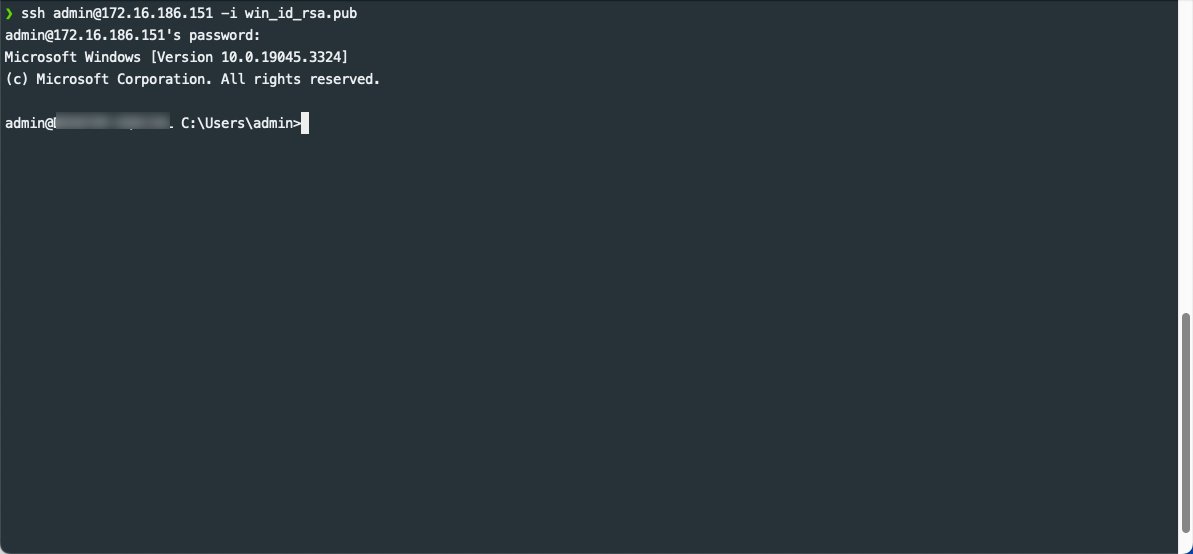
Running the SSH command to connect to Windows from Linux
If successful you’ll see a Microsoft Windows command-line terminal from your Linux.
Connecting to Linux From Windows
If we would like to connect to our Linux machine from our Windows machine we can perform the opposite steps. Similar to the above we need to do the following (if you already have a key-pair for your Linux machine setup feel free to skip the “Ensuring SSH Is Installed on Linux” section).
Ensuring SSH Is Installed on Linux
In this section I will use an Ubuntu Desktop as my Linux machine. We need to perform some administrative tasks to ensure that we are able to connect to our Linux machine from Windows
Install SSH
If SSH is not already installed we can install using apt install.
sudo apt install -y ssh

Running the sudo apt install -y ssh
Start & Enable the SSH Service
Once the ssh package as well as dependant packages are installed we can start the ssh service using the following the systemctl command.
sudo systemctl start ssh
You can also ensure that the ssh starts in a persistent manner when the Ubuntu machine boots.
sudo systemctl enable ssh
Generate SSH keys
Similar to how we generated a key-pair on Windows, we can use the same command on Linux to generate a new SSH key-pair. We can do so with the ssh-keygen command.
ssh-keygen
Like when we did with Windows we’ll be required to give the output location of our key-pair as well as provide an optional password.
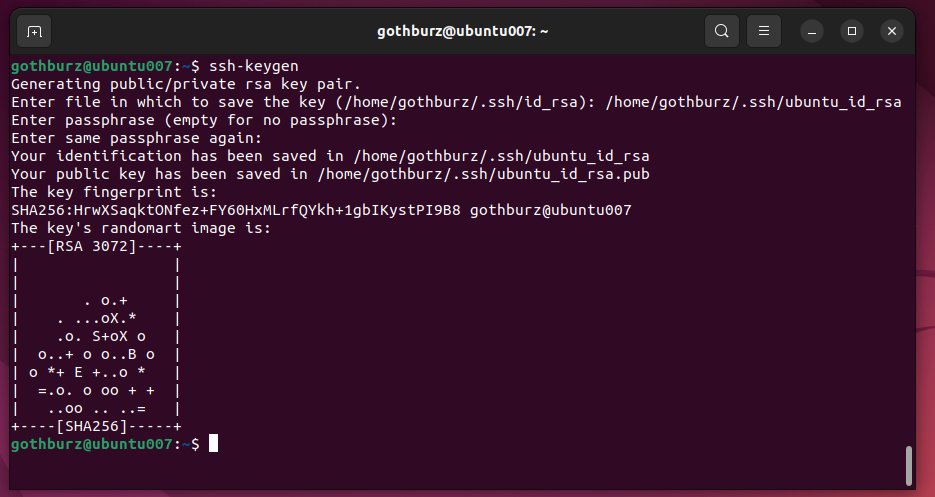
Running the ssh-keygen command
Adding the SSH Key with ssh-add
Once we’ve generated the ssh key we can proceed to add the private key to the ssh authentication agent using ssh-add command by running.
ssh-add /home/gothburz/.ssh/ubuntu_id_rsa
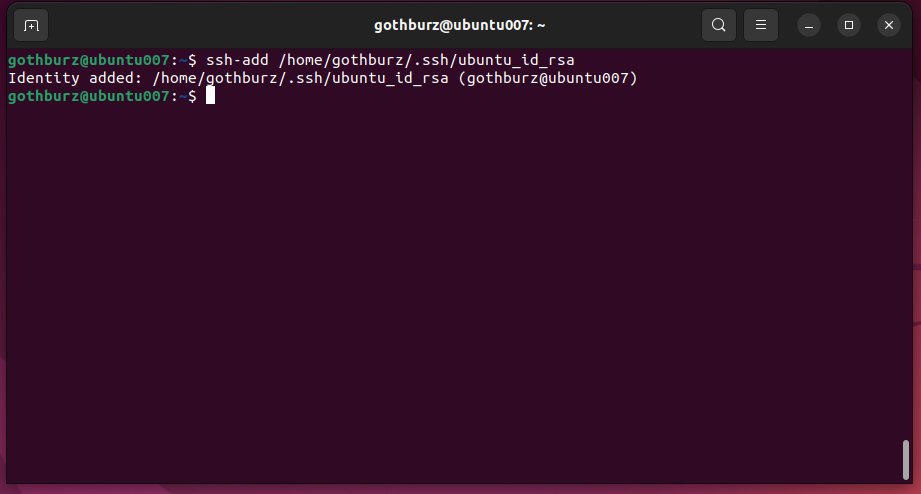
Running the ssh-add command
Copy SSH Public Key to Windows Machine
Once we have ensured that ssh is properly up and running including adding our key-pair to the ssh authentication agent we need to ensure we copied our public key over to our Windows machine
Since I’m using virtual machines I’ll simply move my key over using a shared folder from my host.
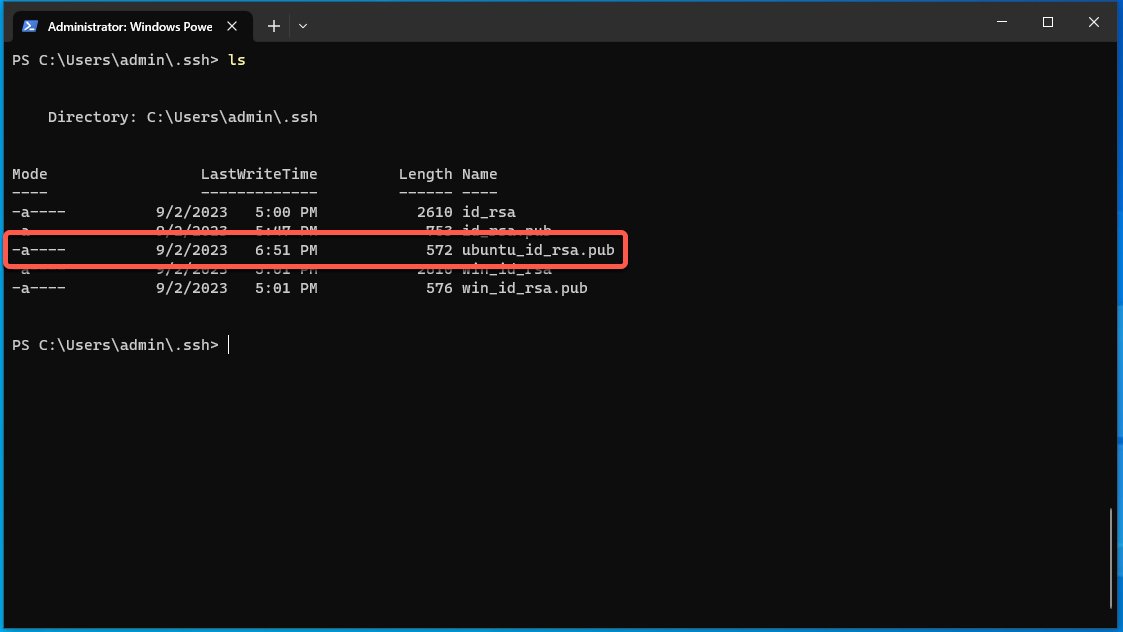
Verifying the Linux SSH public key with the ls command
Connecting to Linux from Windows Machine
Once we have ensured that our Linux machine is properly configured with SSH and that our public ssh key is on our Windows machine we can go ahead and initiate an SSH connection.
We can use the ssh command to initiate the connection from Windows to Linux using powershell.
Be sure to change your username@host as well as the path to the public key.
ssh gothburz@172.16.186.163 -i .\ubuntu_id_rsa.pub

Connecting to our Linux machine from Windows with the ssh command
Depending on your configuration you might be asked for a password as well. Once you’ve ran the ssh command and entered the correct password you should enter a new Linux terminal from Windows. Congrats!
Learn More About SSH
If you’d like to add a definitive guide to SSH to your library then I highly recommend the following book. Written for a wide audience, this book covers the Secure Shell (SSH) in great detail by providing a comprehensive guide for a plethora of use cases, features, and even contains in-depth case studies on large, sensitive computer networks.

Conclusion
In this blog post we looked at how to use the SSH protocol on Microsoft Windows using OpenSSH. We went through the following:
The OpenSSH installation process with the Windows Package Manager (WinGet)
The SSH configuration process
How to connect to Windows from Linux
How to connect to Linux from Windows
I hope you found this post insightful and useful in your day-to-day operations.
Let me know if you have any questions regarding SSH and happy connecting! :)